Dried flowers are a trend that doesn't seem to be slowing down, you see them all over Pinterest, adorning shop window display and they are even big in wedding bouquets.
NEW in-stores we have this fabulous DIY dried flowers dome kit, which includes the dome, dried flowers and clay.
In this 'how to' we will show you how to put together your own dried flower dome, and to make it even more beautiful we have added a few little extras!
What you will need to make your own Dried flowers dome:
- Dried flower dome- code JD90483 available in all stores
- Bottle LED lights- available in stores
- Natural Moss- 101701
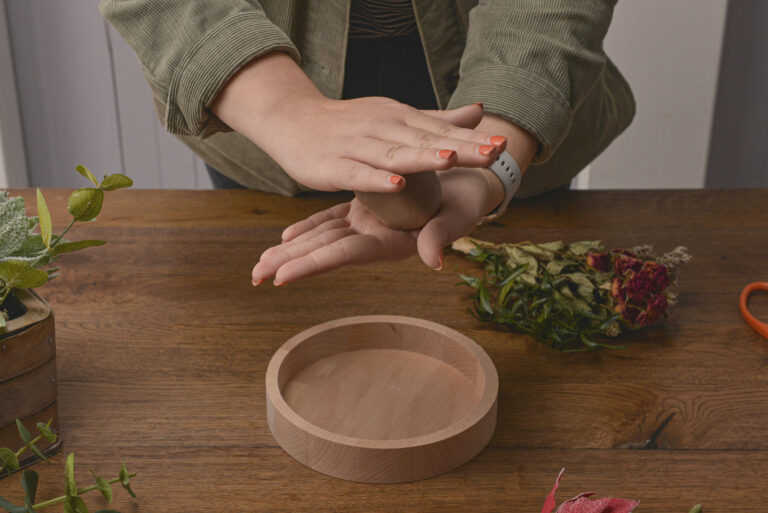
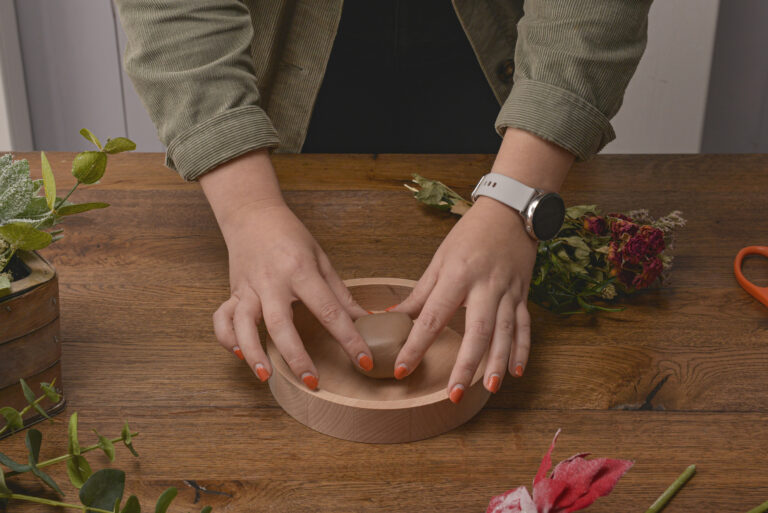
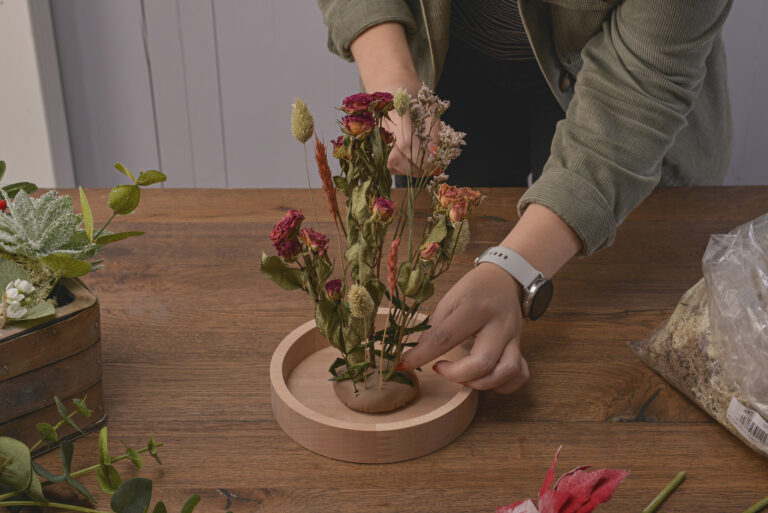
Step One:
Start by rolling the clay in to a ball shape and then placing in the middle of the bottom plate. Using the palms of your hand flatten the clay a little.
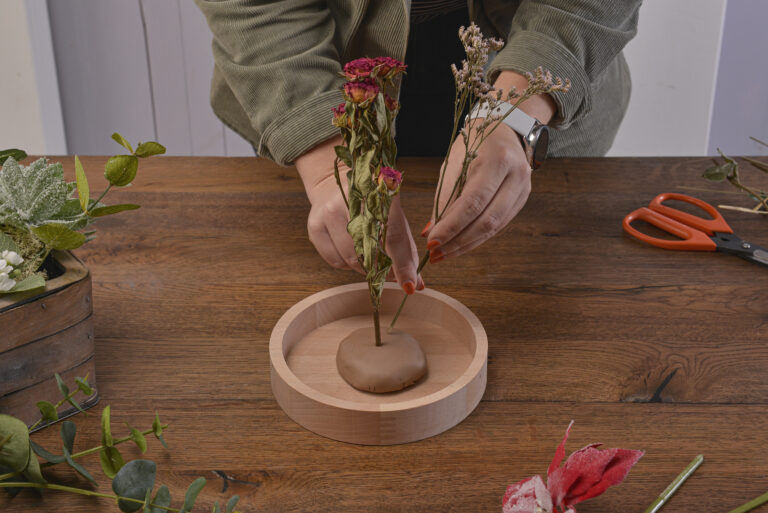
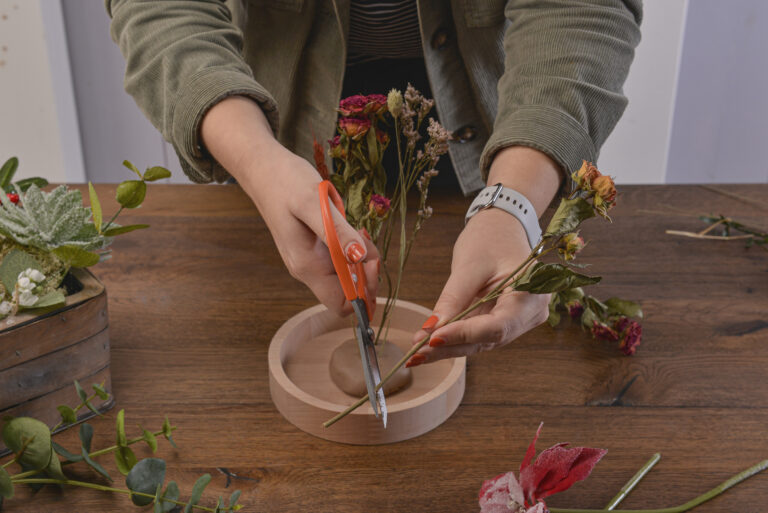
Step Two:
Now for the fun part! Placing the stems of the dried flowers in to they clay. When doing this, take into consideration, evenly seperating the colours, textures and flowers to create a balance amongst your arrangement. We also cut some of the flowers so there is a difference in height.
Step Three:
Once you are happy with the placement of the stems you will now need to leave the arragement for 24 hours without the dome on the top. This will allow the clay time to dry.
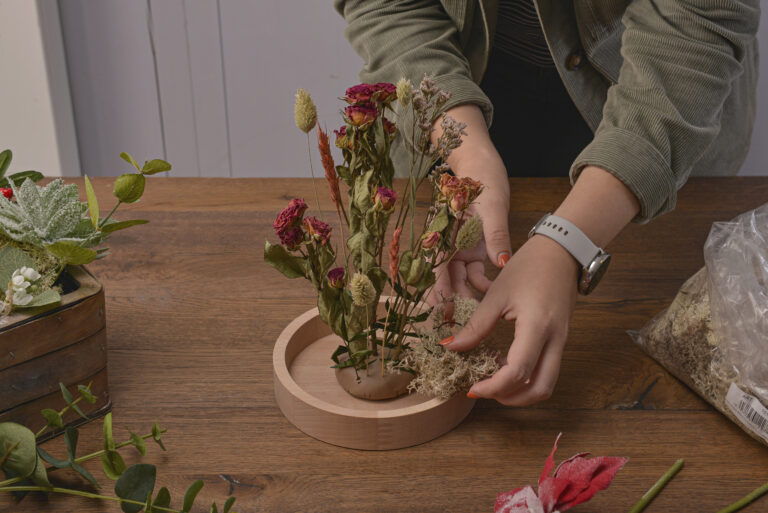
Step Four:
Once the clay is dry you can leave it as it is, pop the dome on top and admire. Or you can add a few little extras to it, like we have. To cover the clay and the base of the dome we have used natural moss and also added some battery operated lights too (use the moss to cover the battery pack too).

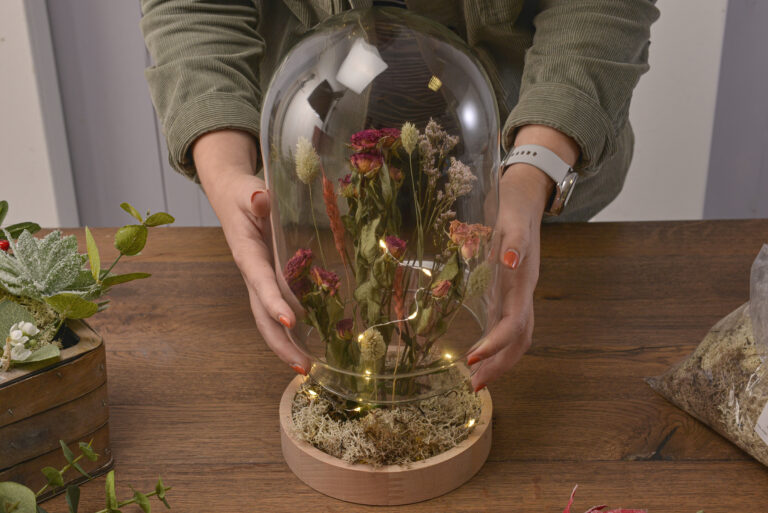
Step Five:
Carefully place the dome over the flowers, making sure not to catch any of the stems.
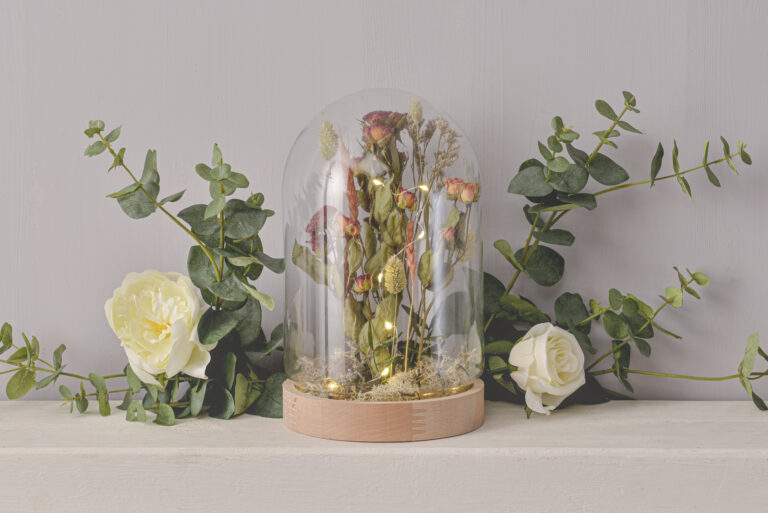
There you have it, your own DIY dried flower dome.
To see more of our Christmas how to guides, please click here.