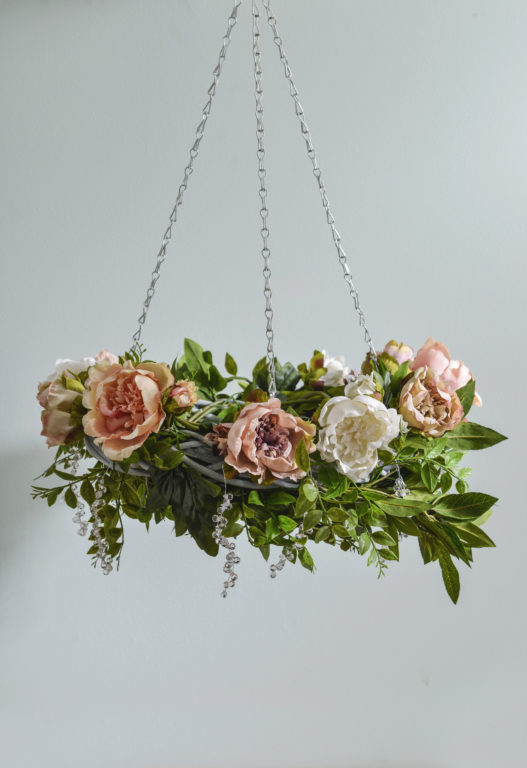
For this wonderful Floral Chandelier we have chosen to use Peonies which is the BFA Flower of the Month. We love how it can be personalised and used in any setting. Whether it be small with only a few flowers and hung over your dining table or a dramatic, eye catching centrepiece at your wedding, using a vast amount of different flowers and contrasting colours. Why not have a go at making this yourself, we promise you it's not as difficult as it looks.
What you will need:
Willow Ring Frame 7 Hook Chain
Clear Droplet Garland - Find me in-store
Scissors - Find me in-store
Step One:
Start by wrapping the garland around the wreath distributing it evenly, gently pull the garland so it is snug. Where needed secure the garland in place with florist wire.


How to Create a Floral Chandelier
Step Two:
Next intertwine the greenery into the wicker wreath allowing the pieces to hang naturally to create depth to your design . The more secure the chandelier is the better, so where you feel its necessary use florist wire to hold in place.


You can use as much or as little greenery as you like depending on how much impact you intend to create. Using a selection of different pieces will add more colour and interest to your finished piece.
Step Three:
Once you have added a layer of lovely greenery you now want to add in your artificial flowers. Group each style and colour together so you can see what you have to work with and then individually place the flowers on to the wreath by poking them through the gaps, not forgetting to secure your stems if required. You can be as methodical or as random with the placement as you wish. After all it is your unique design, there is no right or wrong way of doing this.

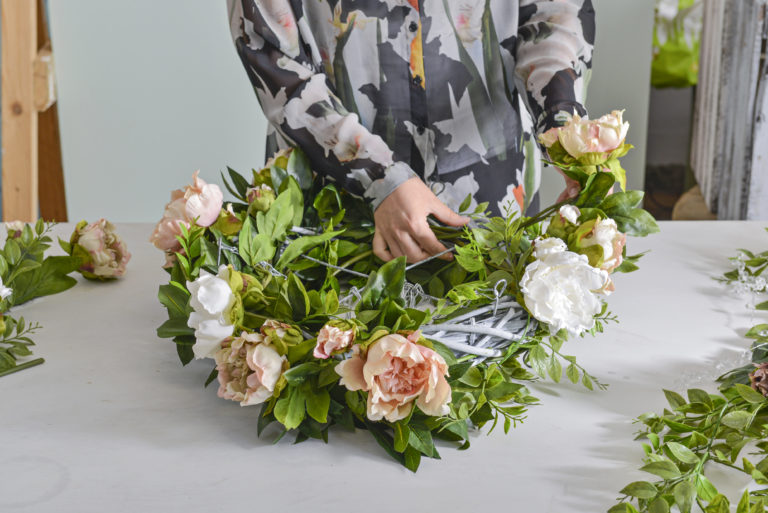
As you are adding the flowers keep stepping back so you can see where any gaps are and check on your progress.
Step Four:
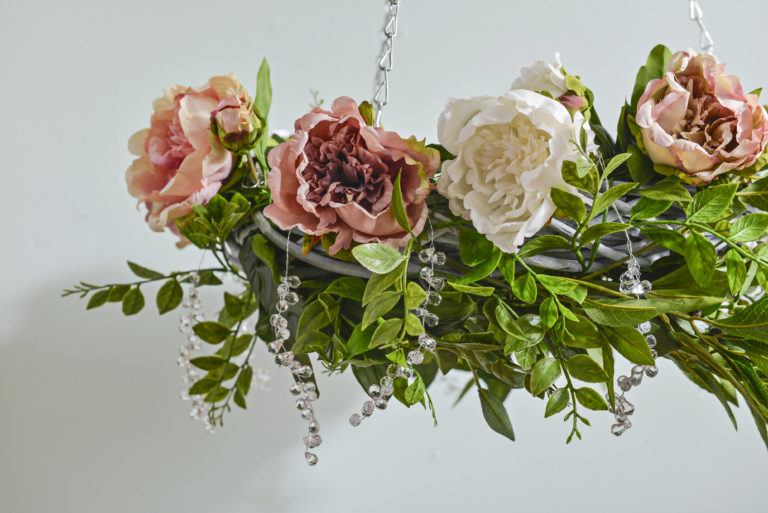
Now you have placed your artificial flowers into the wreath its time to fill in any gaps, we have used a diamante garland to add a little sparkle to the chandelier.

Viola, your Floral Chandelier is complete now stand back and admire it in all its beauty.

If you love this How To then look out for our next tutorial featuring more Peonies coming later this month.