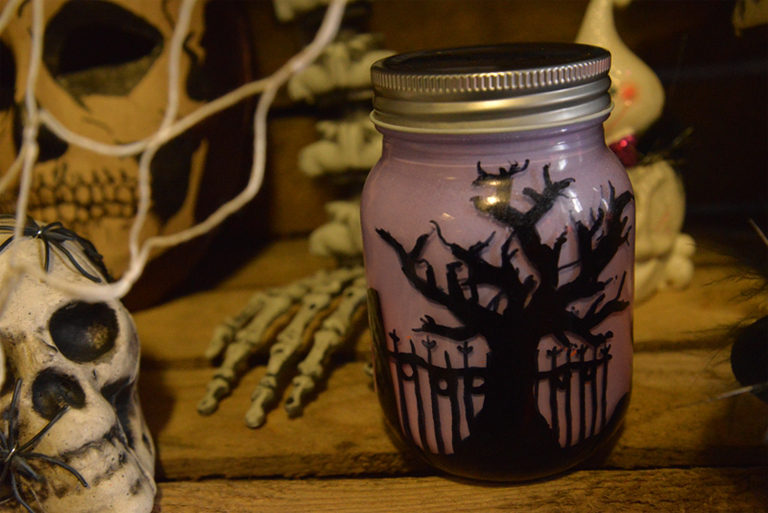
With the Halloween season fast approaching, make sure you have all the decorations you need for creating a spooky scene in your very own home. These Halloween themed Kilner jars are the perfect way to start as they bring a creepy ambiance as well as colour to your decorations. As a range of colours can be used and a variety of spooky scenes can be drawn on the glass, this simple craft will be unique to each attempt and can easily be a project for the kids to join in with.
So let your creativity flow and start on those Halloween decorations!
What you will need:
Kilner Jar
Permanent Marker Pens
LED Lights
Hyacinth Spray Paint
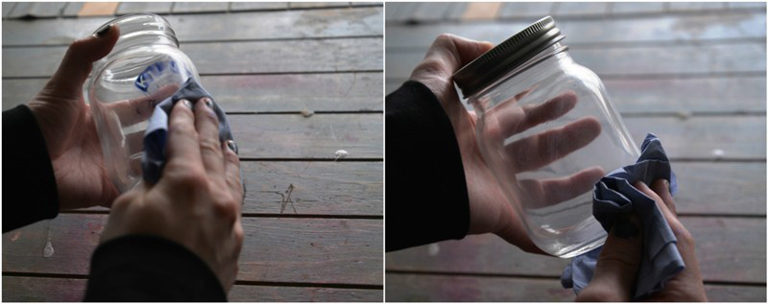
Step One:
Use a white spirit and cloth to remove any logos or designs from the Kilner jar. Make sure to wear protective gloves and that the surface you are working on is protected, as white spirit can cause harm to you and any surfaces.
Make sure the jar is dry before you start the next step as the ink won’t sit on the glass if it’s wet.
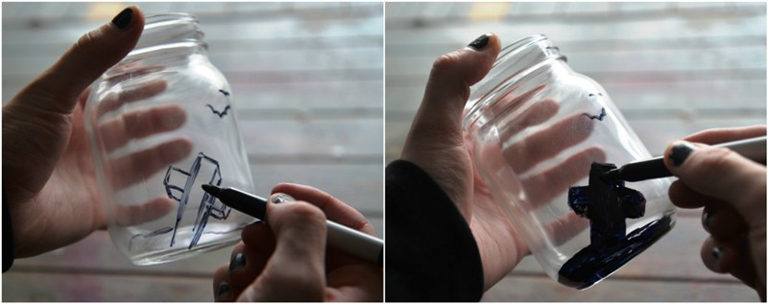
Step Two:
Using a black marker pen, start drawing a spooky scene onto the glass. When you have a design that you’re satisfied with, use a wider black pen to fill in any gaps. Build the design up all the way around the jar.
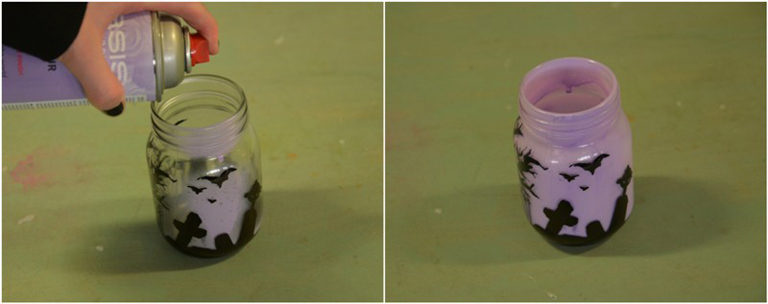
Step Three:
Once the black ink has dried spray the inside of the jar with a Halloween colour, this could be green, orange or as we used, purple. Make sure that you coat the entire inside of the jar so it’s opaque.
Do this in a well-ventilated area and leave to dry for 30 mins.
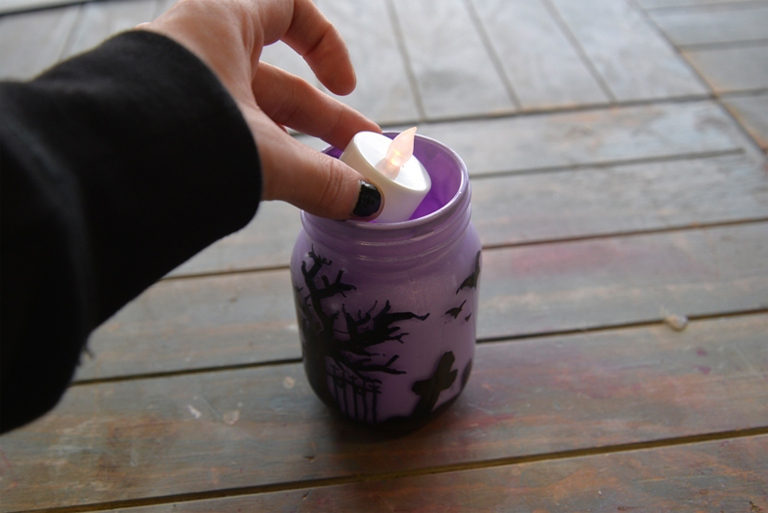
Step Four:
When the paint has dried put a small LED tealight or two inside and watch how the spooky scene comes to life in the dark.