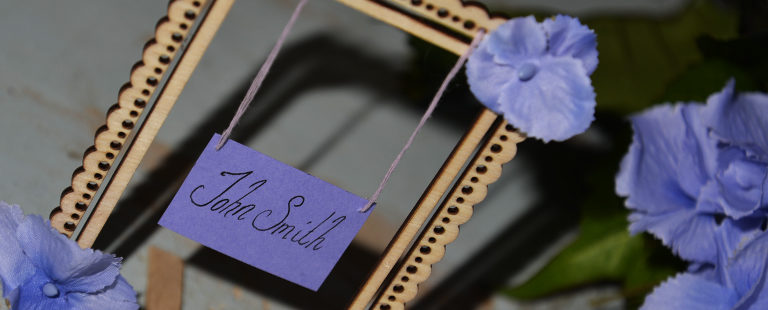
Here is how to make a mini frame place name for your Wedding guests. It's a fun idea that your guests will love.
You Will Need:
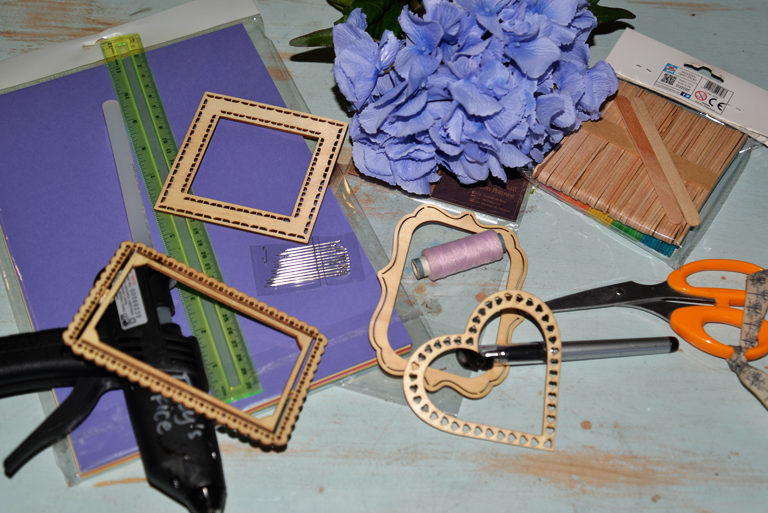
Assortment of 4 small wooden frames (find in stores)
Extra large hydrangea stem blue
Lollipop sticks (find in stores)
Coloured card (find in stores)
Needle
Thread
Ruler
Pen
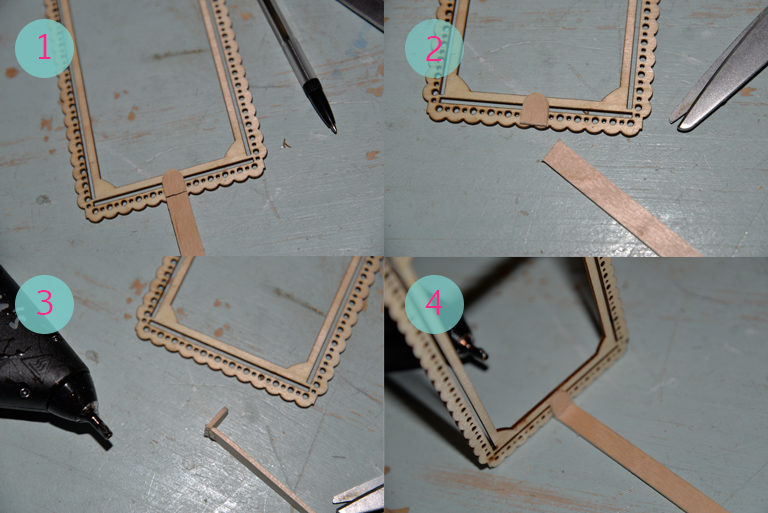
Step 1
Take the lollipop stick and place it on the back of the frame at the bottom. Make sure it is level to the top of the border and mark where the frame border ends.
Step 2
Cut the lollipop stick where you marked it.
Step 3
Glue the two pieces together at a 90° angle. Make sure you glue it as pictured so no height is added to the smaller part of the lollipop cut off.
Step 4
Glue your lollipop stick to the centre of the frame border. Your frame will now stand.
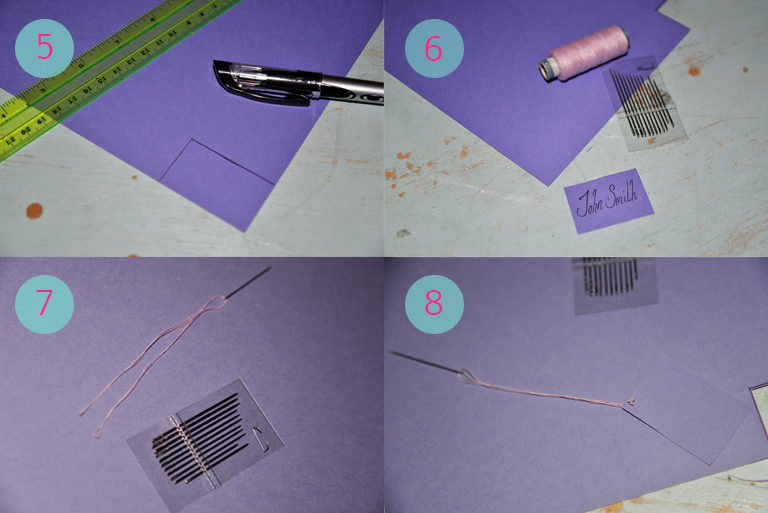
Step 5
Take your card and mark out a rectangle. Write your guests name in the rectangle. Cut out the shape to give yourself the name tag.
Step 6 & 7
Take you needle and thread and cut a long piece of thread. Take both ends and thread them through the needle giving you a double thread.
Step 8
Take your needle and thread and pierce through the top corner of you name tag. Tie a knot at the end of the threads stopping the thread from coming out. Cut the threads as close to the needle as possible to release the needle. Do the same process on the opposite top corner.
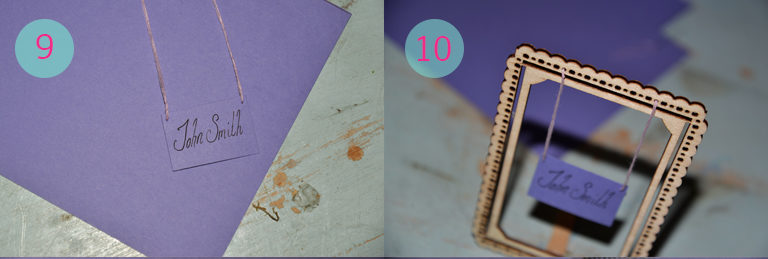
Step 9
You now have a name tag with two hanging threads. Take the threads and push them through the holes in the wooden frame. Take one side and decide on a desired hanging length and tie a knot to secure it. Do the same with the other side making sure the name tag hangs level. Add a drop of glue to each thread end at the back of the frame to make it extra secure.
Step 10
Cut a few heads off the hydrangea and glue them to the frame for a floral addition.
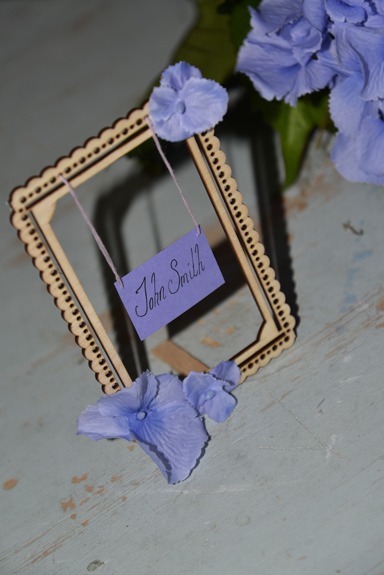
Now admire your frame place name and get started on the next one!