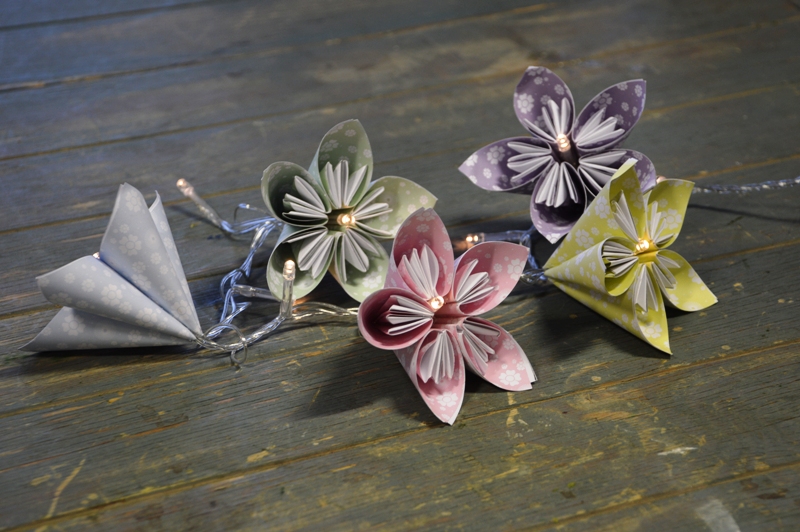
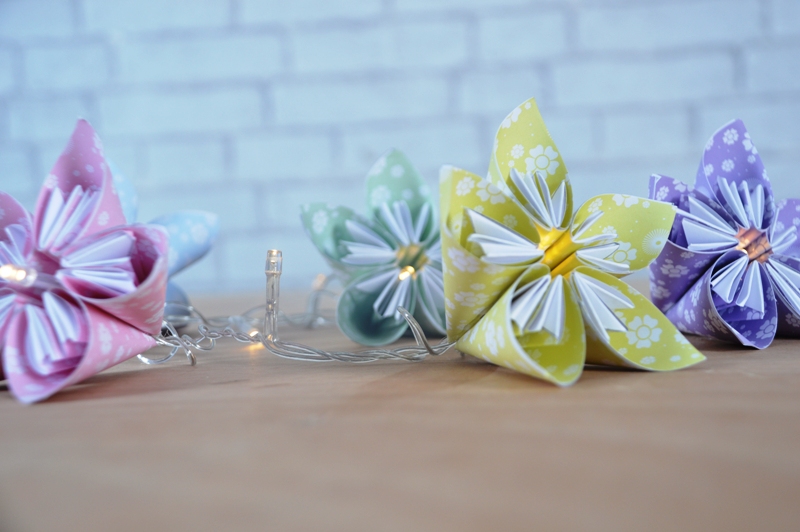
These origami flower covers are beautiful and perfect for a wedding or home. just attach them to fairy lights and voila!. Have a go at some origami to make these cute flower covers using our range of craft products at Country Baskets.
Everything you need:
Craft Papermaker Pad Polka Dots and Flowers (find in store)
Fairy Lights (find in store)
Ruler (find in store)
Foil Stripe Pencils
Stainless Steel Scissors with Orange Handle
Hot Melt Glue Gun Tec 305
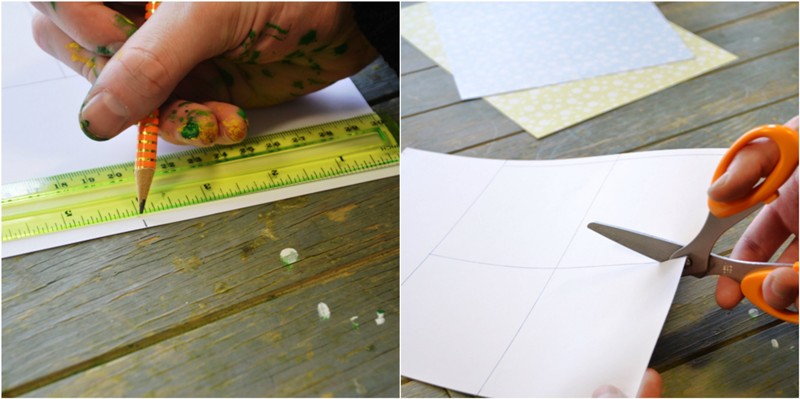
Step One
Using a pencil and ruler, draw five squares 4 x 4in in size onto patterned A4 paper and cut out all of the squares.
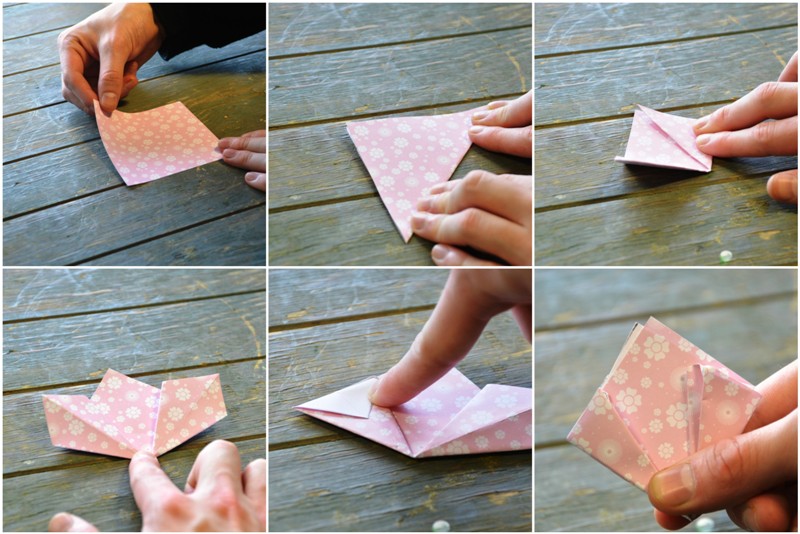
Step Two
Take one square and fold it in half to form a triangle. Fold the left and right hand points inwards to meet the top, forming a square. Now open out the folded corners and press them flat with your fingers, reversing the folds along the existing creases to form a kite shapes. Fold the top corners of both kite shapes down so theat the edges are level with the square shape behind. Finally, fold both of the kite shapes inwards.
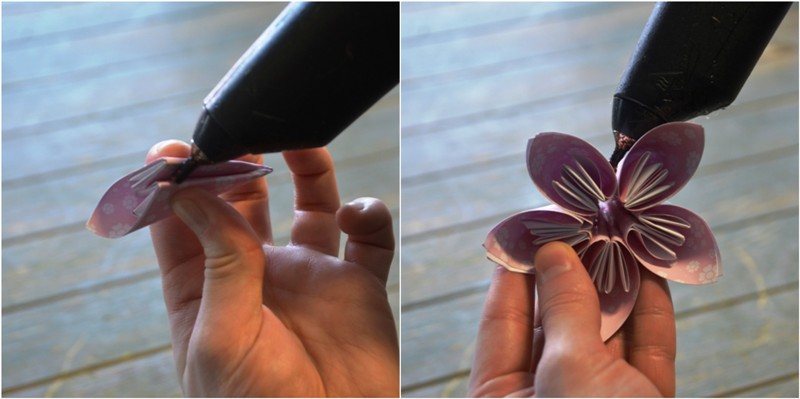
Step Three
Now curve the entire square shape so the both sides meet and glue using a glue gun. Repeat all previous steps to create enough flowers for your fairy lights.
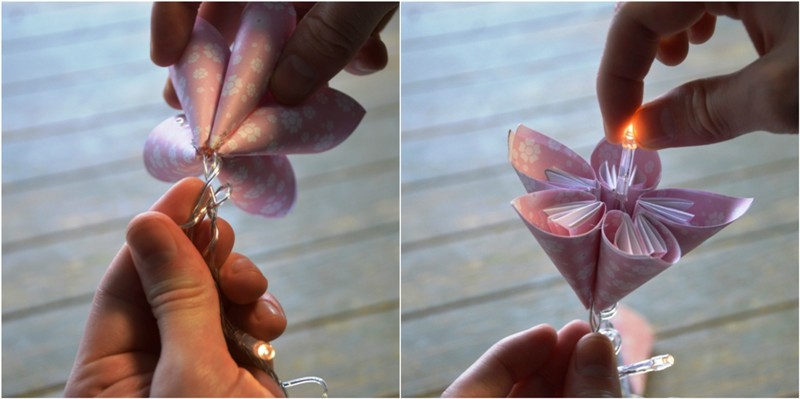
Step Four
To finish feed the LED bulbs through the small opening that will naturally form at the bottom of the flower. Repeat throughout your set of fairy lights.
Paper crafts can add spectacular results to any decoration as well as providing that personal touch.