Forget fidget spinners! Have a go at making one of these old school classics that we've been playing with for generations. Paper spinners are really easy to make and a fun craft project to keep the little ones entertained this summer.
Everything you will need
Cardboard- find at home
Paper- find in store
Coloured Marker Pens- find in store
String- find in store
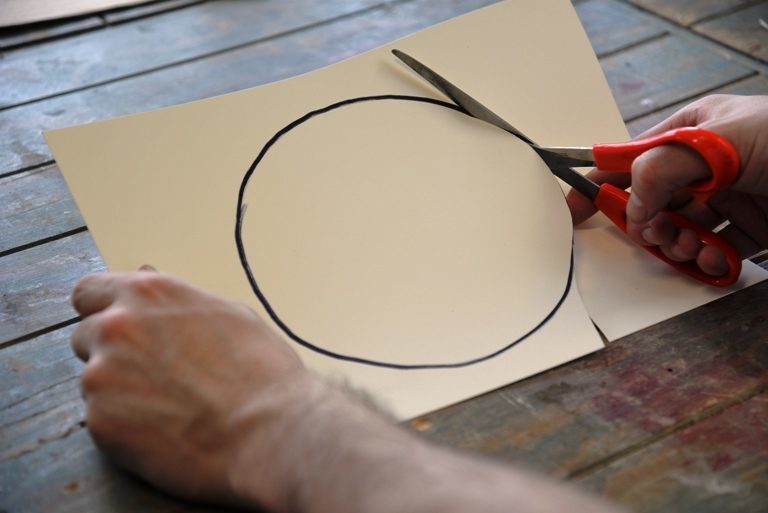
Step One:
Draw a circle (approximately 7' in diameter) onto a piece of cardboard and cut it out.

Step Two:
Draw two more circles of the same size onto paper and cut them both out. Eventually, They will need to be stuck to each side of the piece of cardboard.
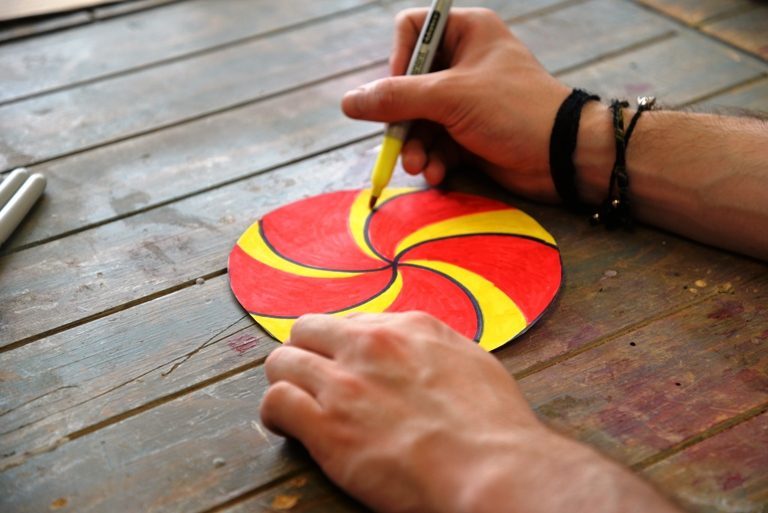
Step Three:
Decorate both of your paper circles!
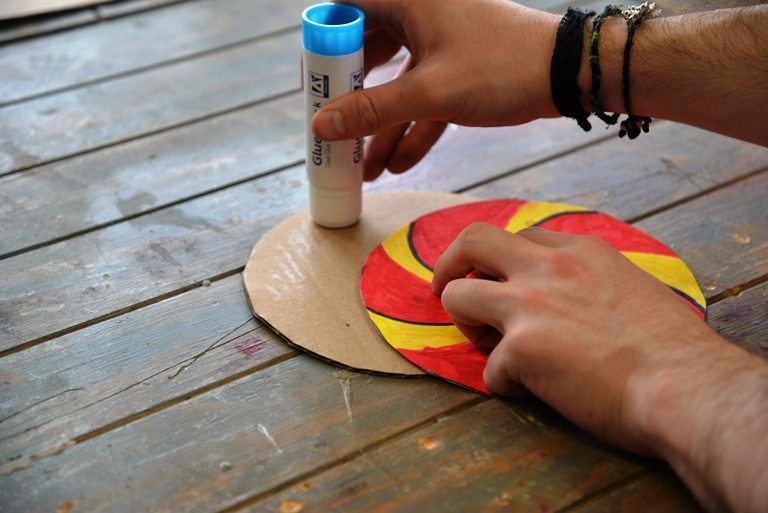
Step Four:
Glue both pieces onto each side of the cardboard circle.
Step Five:
Using a pin/needle, make a hole just above and below the centre point and feed two pieces of string through the holes.


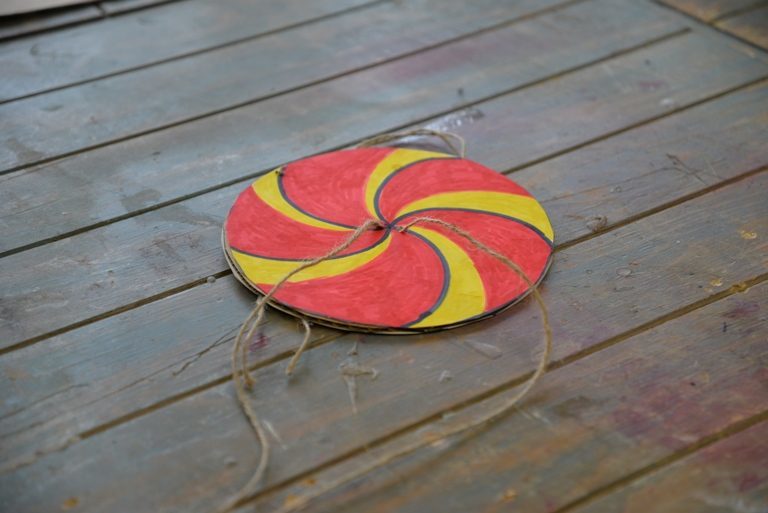
And there you have it!
Just spin the whirligig around a few times to create tension, and whirl the spinner by pulling and releasing the tension on the strings.
If you have created your own paper spinner why not tag us using @countrybaskets or #countrybaskets. We just love to see your creativity!